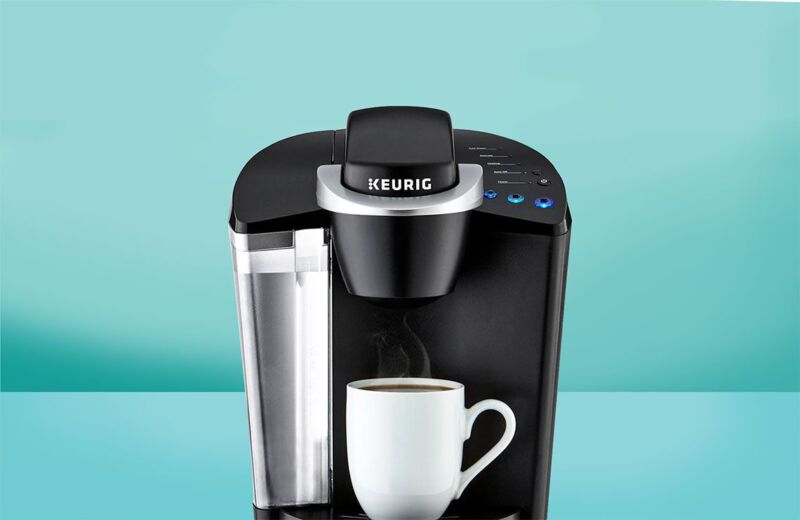
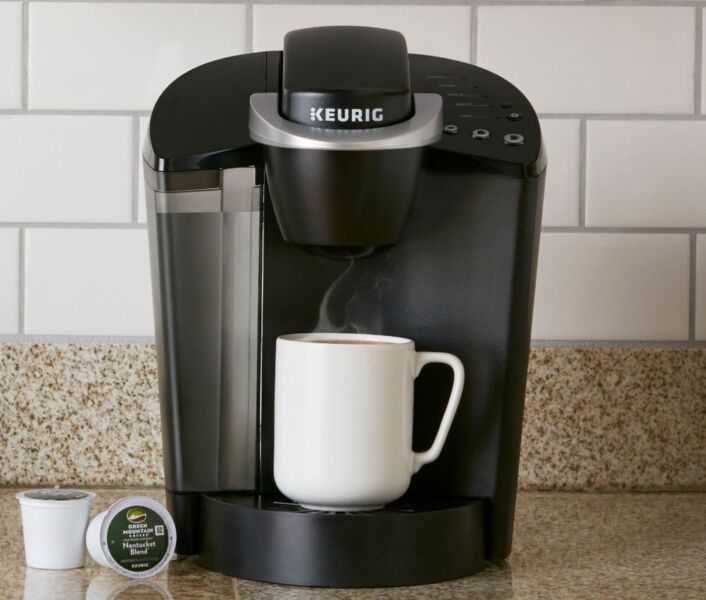
Why The Keurig Descaling Light Stays On? Common Issues and Solutions
If you own a Keurig coffee maker, you’ve likely encountered the dreaded descale light turning on at some point. This bright orange or red indicator is warning you that it’s time to descale your machine. But what happens when the Keurig descale light won’t turn off even after you’ve tried cleaning it?
As a Keurig coffee machine owner, I’ve dealt with this frustrating issue several times. The descale light remaining on usually means there’s still sediment buildup or blockages inside preventing the light from resetting. Thankfully, some simple troubleshooting and descaling methods can get your Keurig functioning properly again.
Reasons Why the Descaling Light Stays On
To understand how to fix a Keurig with a stuck descale indicator, it helps to know what causes it in the first place. Here are some of the most common reasons the descale light remains on even after descaling:
Mineral Scale Buildup
The main purpose of the descaling light is to alert you when mineral deposits have built up in your Keurig. Hard water contains dissolved minerals like calcium and magnesium. As the water is heated inside the Keurig, these minerals are left behind, coating the internal tubes and parts over time.
If the scale buildup is really stubborn, a single descaling cycle may not fully dissolve it. This means some mineral residue is still present, continuing to activate the descale sensor.
Clogged Internal Parts
Heavy limescale buildup can completely clog small tubes or parts inside the Keurig machine. Even after descaling, some of these clogged components fail to get cleared out.
The flow sensor is one internal part that’s prone to clogs. If it remains blocked, the machine will keep throwing the descaling light since it still detects limited water flow.
Stuck Descaling Sensor
Keurig coffee makers have a tiny descaling sensor that gets tripped when mineral buildup is detected. Normally, this sensor resets after descaling removes the deposits. But if gunk and sediment collects around the sensor, it might stay activated even after the machine is cleaned.
Resetting the entire coffee maker can sometimes jar the stuck descaling sensor back into place. If not, more intensive cleaning is required.
How to Fix a Keurig With Stuck Descaling Light
If your Keurig’s descaling indicator persists even after cleaning the machine, don’t worry. Here are some step-by-step solutions to help get rid of that annoying light once and for all:
Hard Resetting the Coffee Maker
As mentioned earlier, a hard reset can dislodge a stuck descaling sensor. Here’s how to hard reset a Keurig coffee machine:
- Make sure your Keurig is powered off.
- Unplug the machine from the power outlet.
- Leave the coffee maker unplugged for at least 60 seconds.
- Plug the Keurig back in and power it on.
- The descale light may now be reset.
This simple resetting of the coffee maker’s computer often does the trick. Try running a brew cycle to test if the light stays on or off.
Clean with Vinegar
White vinegar works as a natural descaler and cleans limescale very effectively. To clean with vinegar:
- Fill the water reservoir to the max line with equal parts vinegar and water.
- Place a large mug under the dispenser.
- Run a brew cycle with the vinegar solution.
- Repeat steps 2-3 until the reservoir is empty.
- Rinse the reservoir thoroughly and fill with fresh water.
- Run 2-3 fresh water brew cycles to flush out any vinegar taste.
The acetic acid in vinegar breaks down mineral scale, while also cleaning the internal tubes and components. This may remove any remaining scale tripping the descale sensor.
Use a Descaler Cleaner
For the most thorough descaling, use a caffeine-based descaling solution. Products like Dezcal or Durgol work instantly to dissolve mineral buildup.
To use a descaler cleaner:
- Dilute the descaler concentrate with equal parts water.
- Fill the reservoir and run a brew cycle with the solution.
- Top off the reservoir as needed until empty.
- Rinse the reservoir and run a few fresh water brews.
The powerful descaler will break down even the toughest limescale residue clogging your Keurig machine.
Disassemble and Clean Components
For severely scaled Keurigs with an unresetting descale light, taking apart and cleaning individual components may be needed. This is an intensive cleaning method to use as a last resort:
- Unplug the coffee maker and empty the reservoir.
- Remove the housing carefully to access inner parts.
- Take out removable parts like the water tank and drip tray.
- Scrub parts with a toothbrush or cotton swabs dipped in vinegar.
- Use a paperclip to gently clear any clogged tubes.
- Rinse all parts before reassembling.
Scrubbing each component removes lodged mineral scale affecting your Keurig. Just take care when taking apart the machine to avoid damaging any pieces.
How to Prevent Keurig Descaling Light From Turning On
Prevention is the best way to deal with the descaling issue. Here are some tips to help avoid mineral buildup in your Keurig coffee maker:
Use Filtered or Bottled Water
Filtration removes minerals and impurities from water. Using filtered or bottled water prevents scale buildup caused by hard water.
Installing a water filter pitcher or faucet attachment provides an easy fix. You can also use distilled or purified bottled waters.
Descaling Regularly
Descaling your Keurig every 3-6 months eliminates mineral buildup before it gets excessive. Mark your calendar to descale regularly.
For heavy use, descale even more often. The descaling solutions and vinegar method both work great.
Rinse After Each Use
Run a water rinse brew after each coffee. The quick rinse only takes seconds but keeps your Keurig internals clean.
The rinse wash away any coffee residue while also flushing fresh water through the tubes.
By staying on top of descaling and maintenance, you can avoid waking up to that pesky orange descale light plaguing your morning brew.
The Importance of Descaling Your Keurig
Descaling is not just about turning off a meaningless warning light. Allowing too much mineral buildup can negatively impact your Keurig coffee maker in several ways:
Alters Coffee Taste
Scale buildup affects the water temperature and water flow during brewing. This can greatly alter the flavor of the coffee produced.
Hard water also imparts a mineral taste. Descaling removes these factors resulting in great tasting coffee.
Clogs Internal Parts
The small tubes and components can get fully blocked by excessive scale. A clogged Keurig fails to run properly, with issues like leaking, improper brewing, and more.
Regular descaling keeps the internal workings clear.
Damages the Machine
Over time, the accumulation of mineral deposits can corrode metal components and cause permanent damage.
Areas like the heating element suffer accelerated wear when continuously coated in limescale.
Prevent scale formation with frequent descaling to extend your Keurig’s lifespan.
How Often Should You Descale a Keurig?
We touched briefly on descaling frequency earlier, but let’s look closer at how often you should be descaling based on usage:
Daily Use: Every 3-6 Months
For daily coffee drinkers, descaling every 3-6 months is recommended. The regular use allows mineral scale to quickly build up inside the machine.
Quarterly descaling ensures your Keurig stays in great working condition.
Weekly Use: Every 6-12 Months
For weekly users, descaling twice a year is typically sufficient. The less frequent use limits limescale deposits from forming.
Check for scale buildup and any alteration in coffee taste around 6 months before descaling.
Occasional Use: Once a Year
Occasional and infrequent coffee makers may only need descaling annually. Look for any visible scale and taste changes around the 1 year mark.
The minimal use doesn’t allow for rapid mineral buildup so yearly is fine for light usage.
Regular Maintenance Extends Your Keurig’s Lifespan
While descaling removes existing buildup, regular cleaning helps prevent excessive limescale formation between descaling cycles. Here are some simple maintenance tips:
Wipe Away Dust and Residue
Give your Keurig a quick wipe down before each use, focusing on the water reservoir, pod holder, and dispenser area. This keeps residue from accumulating.
Microfiber cloths work great for dusting and wiping.
Soak Removable Parts
Soaking the pod holder, water tank, drip tray and other removable pieces in warm soapy water also helps clean away gunk.
Do this weekly or as needed. Rinse and dry all parts fully before reattaching.
Flush with Water Rinse Cycles
The simple water rinse brew after each use keeps fresh water flowing through the inner tubes. This pushes out any leftover coffee oils or particulates.
Develop a habit of quick rinse cycles for cleaner tubing.
Staying on top of maintenance and descaling your Keurig coffee maker really helps avoid scale buildup issues. Just follow the troubleshooting steps outlined here if that pesky descale light ever refuses to reset.