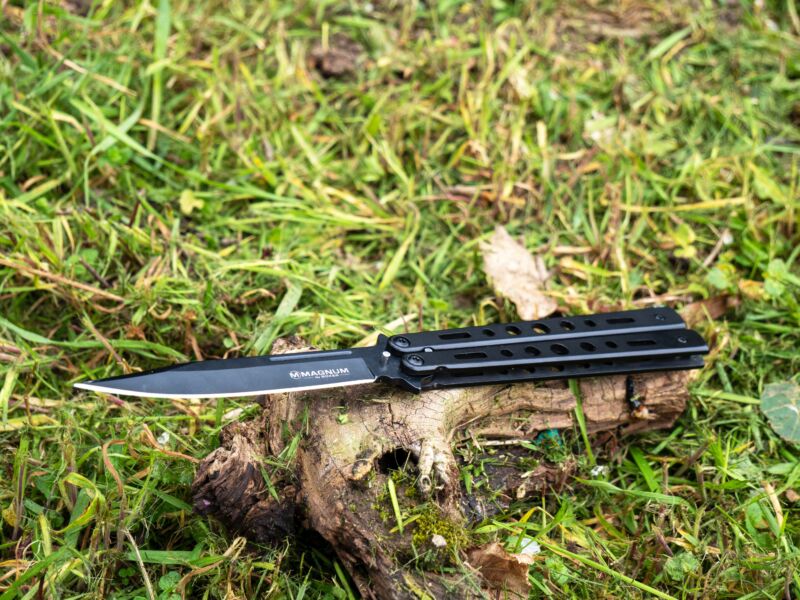
How to Make Your Own Pocket Knife: A Step-by-Step Guide
Making your own pocket knife is an incredibly rewarding process that allows you to customize every aspect of the blade and handle to fit your needs and preferences. With some basic tools and materials, patience, and this comprehensive guide, you’ll be able to craft a functional folded knife you can carry everyday.
Selecting the Right Materials for Blade, Handle, and Components
The first step is choosing the right raw materials for each part of your knife. High quality materials will allow you to make a sturdy, long-lasting knife.
For the blade, I recommend using high carbon or stainless steel. High carbon steel holds an edge very well but can rust if not maintained properly. Stainless steel resists corrosion but may not get as sharp. Other options are tool steels like 01 or M2 if you want excellent hardness and edge retention.
For the handle, classic materials like wood, bone, antler, and stag horn work beautifully. Synthetic options like G10, micarta, and Kirinite are very durable. Choose a material you find attractive and comfortable to hold.
You’ll also need pins, washers, springs and other components. Brass offers corrosion resistance while steel provides strength. Titanium provides the best of both but is expensive.
Take your time selecting each material to match your preferences and intended use for the knife. This will maximize performance and aesthetics.
Designing and Cutting Out the Blade Shape
Once you have materials, it’s time for the fun part: making your blade design a reality!
Start by making rough sketches of the blade shape and style you want. Refine the outline and details until you have a finished concept. Typical blade patterns like drop point, tanto, and clip point work well for EDC knives.
Use the stock removal method to cut out your blade. Trace your final pattern onto the steel then cut out the rough shape with a bandsaw or hacksaw. Take care to cut just outside the line to leave material for final shaping.
Cut the basic blade bevel using a belt sander or grinder set to your desired angle. A common choice is 15-20° per side for a V-grind. Shoot for even, symmetrical bevels along the cutting edge.
With the rough blank cut out, you can move on to careful refining.
Shaping and Refining the Blade Profile
Refine your blank into a finished blade using files, sandpaper, and grinding/sharpening equipment.
Use flat, round, and half-round files to shape the profile. Remove file marks with progressively finer grit sandpaper like 120, 220, 400. Follow up with wet sanding up to 2000 grit for polished bevels.
Create any special grinds or blade details using a belt sander, Dremel or the edge of your grinder wheel. Add swedges, Jeremy Price style plunge grinds, or other artistic touches if desired.
Hand sand the entire blade to remove deep grind marks and achieve a uniform finish before final polishing. Use water or oil stones to sharpen the edge to razor sharpness. The blade shaping is complete!
Crafting the Handle and Assembling the Knife
Now it’s time to focus on the handle and bringing everything together into a functional pocket knife.
Start by using files or rasps to shape your handle material to match the tang. Cut it slightly oversized, then shape it precisely for a good fit.
Drill holes to accommodate pins, lanyard tube, and other hardware like stop pins. Test fit the handle and make adjustments until it fits snugly.
Epoxy the handle scales to the tang using slow-curing epoxy. Line up pre-drilled holes. Let it fully cure before progressing.
Install pivot hardware, washers, spacers and other components gathered earlier. The washers allow the blade to open smoothly. Use threadlocker on any threaded hardware.
Your handle and locking mechanism are complete! Now to make sure the knife functions properly.
Adding Finishing Touches
With the knife fully assembled, apply finishing touches to complete the build.
Clean up any excess epoxy on the handle with sandpaper and files. Refine the handle shape and sand up to your desired grit for smoothness. Consider a natural oil finish.
Make a custom pocket clip, lanyard, or simple leather sheath to carry your knife in style. This adds personal flair.
At this point your pocket knife should be structurally complete! But it’s not quite ready for real work yet.
Testing and Maintaining Your New Knife
Before relying on your handcrafted knife, it’s important to test and tune it properly.
Check the blade and handle fit, action, and lockup by opening and closing the knife repeatedly. Ensure good lock engagement with no play.
Test edge retention by breaking down cardboard boxes or whittling some wood. This also helps seat the pivot.
Sharpen and hone the edge as needed to keep it scary sharp. Use a whetstone, ceramic rods, or guided system like the Worksharp.
Regularly oil and clean the knife, especially if using a high carbon steel blade. Prevent any rust or corrosion which compromises uses and aesthetics.
Don’t be afraid to go back and adjust anything that doesn’t work perfectly. That’s part of crafting a custom knife truly built for you.
Making a pocket knife from scratch is extremely rewarding. Follow these steps to create your ideal everyday carry blade. Customize the materials and design to your taste. Spend time refining every component for fit, finish, and performance. Maintain your knife properly once complete, and carry it with pride knowing you made it yourself!