How Long Does Yeast Take to Activate?
Yeast is an essential ingredient in baking for helping dough and batters rise. But before you can use yeast in recipes, it needs to be activated first. So how long does it actually take for yeast to activate? Read on for a complete guide to getting yeast ready to lift your baked goods.
Where to Get Yeast
The first step is getting your hands on some yeast. There are a few options for where to buy yeast:
Grocery stores – The baking aisle at your regular supermarket will have dry active yeast. This is the most common form and what most recipes call for.
Specialty baking stores – Stores focusing just on baking supplies will have a wider variety of yeast types, including instant, rapid rise, bread machine, and fresh yeast.
Online – Buying yeast online gives you access to large bulk sizes for a better value if you bake frequently. You can also find specialty yeasts not carried in regular stores.
Types of Yeast
Before activating your yeast, it helps to understand the different forms it comes in:
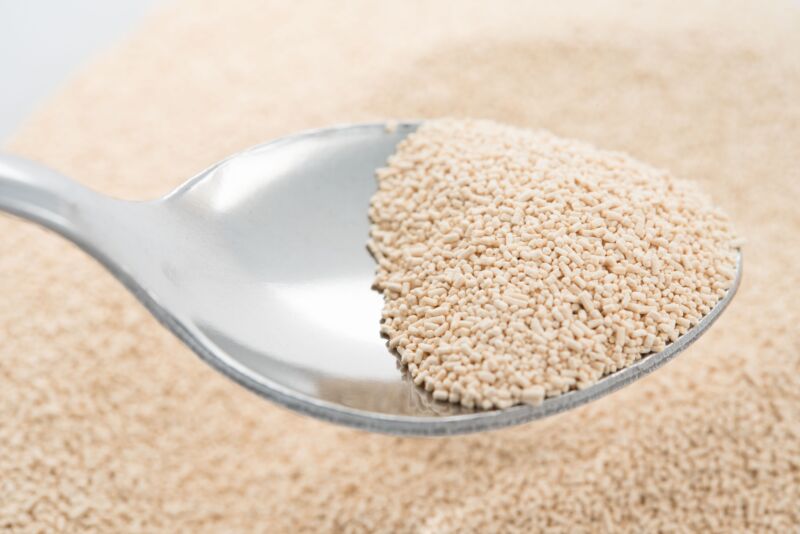
Active Dry Yeast
This is the typical yeast you’ll find in the grocery store baking aisle. It comes in small jars or packets as granules. Active dry yeast needs to be dissolved in warm liquid before use. Recipes will specify the proofing time but 10-15 minutes is average.
Benefits: Easy to find, budget friendly, longer shelf life
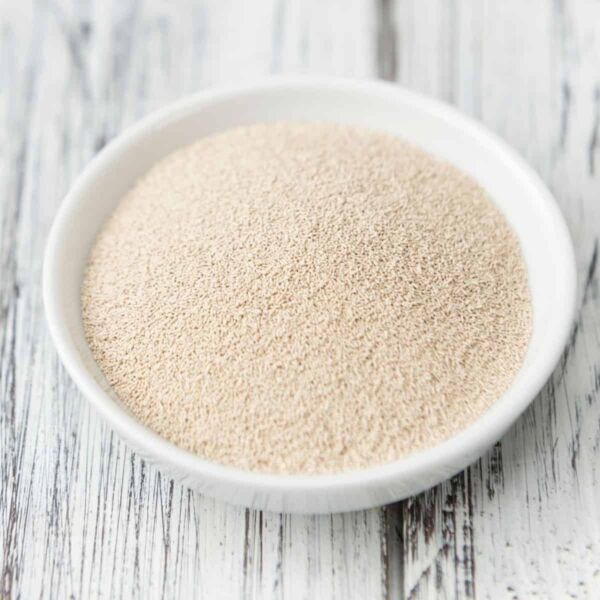
Instant Yeast
Instant yeast has smaller granules that activate more rapidly. It can be added directly to dry ingredients without proofing first. Recipes with instant yeast often call for letting the dough rise once rather than twice.
Benefits: Faster activation, no proofing needed
Rapid Rise Yeast
This is a form of instant yeast that includes additives to make it activate even faster. It cuts down total bread making time. Follow the instructions on the package for use.
Benefits: Quick rising dough
Fresh Yeast
Fresh yeast is available refrigerated at some specialty stores. It has a short shelf life and needs to be used quickly. It’s more common for commercial bakeries but home bakers may seek it out for flavor.
Benefits: Imparts fuller yeast flavor
How To Active Yeast?
Step 1: Check Expiration Date
Yeast is a living organism so it eventually loses its leavening power as it gets old. Before activating yeast, double check the expiration or “best by” date on the package.
As long as it’s still within the month, you should be fine to use it. Discard and buy new yeast if the date has long passed.
Pro tip: Even if unopened, yeast will start to lose viability around the 6 month mark from manufacturing date.
Step 2: Prepare Warm Water for Proofing
Active dry yeast needs to be dissolved and “proofed” in warm water before using. This activates the yeast organisms, allowing them to feed on the sugars and produce the gases that make dough rise.
Experts recommend 110°F water for proofing but anywhere between 105-115°F will work. If you don’t have a thermometer, aim for just slightly warmer than body temperature.
Do not use hot water above 120°F as this can kill the yeast. Likewise, cold water below 90°F will not properly activate it.
Step 3: Add a Pinch of Sugar
Adding just a bit of sugar, about 1/2 teaspoon, to the warm proofing water gives the yeast some food. This speeds up the activation process so it’s ready to mix into dough faster.
Table sugar or granulated white sugar is fine for this. Stir to dissolve.
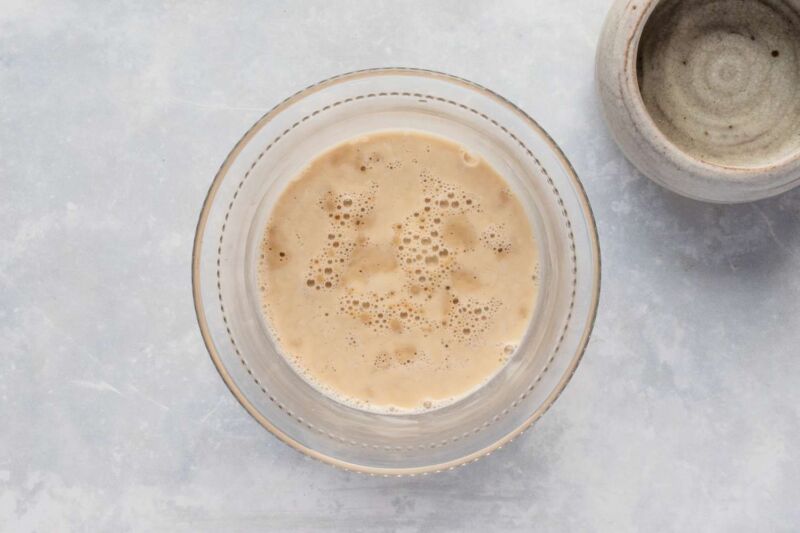
Step 4: Wait for Foam
Now just give the yeast some time to work its magic!
Look for a layer of foam or froth to develop on the surface after around 5-15 minutes. The bubbles confirm the yeast is activated and ready for bread making.
If no foam appears after 15 minutes, the yeast may be too old. Try proofing a new packet.
Step 5: Add to Dough as Directed
Once your yeast passes the proofing test, you can add it to dough or batter recipes as instructed.
Make sure to include the water it was dissolved in toward the total liquid amount. This ensures the right hydration and yeast content.
Now just mix, knead, rise, and bake as your recipe states!
What is Yeast Used For?
Besides bread, yeast helps make:
- Pizza dough
- Pretzels
- Donuts
- Bagels
- Sweet rolls
- Beer & wine
Really anything with a light, fluffy, risen texture requires yeast in the mix. It’s a fundamental ingredient across baking genres from breads to sweets.
Using Instant Yeast
With instant yeast, you skip the proofing step since the smaller granules activate more readily when mixed into dry ingredients.
Use about 25% less instant yeast compared to recipes specifying active dry yeast.
Make sure to account for the missing water volume from proofing. Add it into the overall liquid called for and heat to the temperature specified.
Active Dry Yeast vs. Instant Yeast
While they achieve the same leavening goals, there are some key differences between active dry and instant yeast:
Active dry yeast:
- Larger granules that need to be dissolved before use
- Needs to be proofed in warm water
- Shelf life around 6 months unopened
Instant yeast:
- Fine powdery granules
- Can be added directly to dry ingredients
- Shelf life up to a year unopened
- Activate faster at cooler temperatures
Can You Substitute Active for Instant Yeast?
It’s best practice to use the type of yeast specified in a recipe. But in a pinch, here are some tips on substituting:
- Use about 25% less instant yeast in place of active dry
- Reduce proofing time to just 5 minutes
- May need to adjust rising times
The fine granules of instant yeast activate much faster compared to active dry. So you need less and the proofing time is shorter.
Subbing active dry in for instant yeast can be trickier. Since active yeast needs proofing, the high temperature often used with instant yeast recipes can kill it before it’s fully activated.
Conclusion
Understanding the differences between yeast types and how long each takes to activate sets you up for success with all of your baking recipes.
With my tips on water temperature, proofing, and what to look for, you can feel confident your yeast will be ready to lift dough and delight with delicious homemade results.
Now that your yeast is activated and happy, it’s time to mix up some dough and watch your creations rise up beautifully.